15 November 2014

Listening to WXPN 88.5's '885 best and 88 worst songs ever' countdown

24-25 October 2014

I delayed all work to prepare for this radio event, of which the 'worst songs' part was simply hysterical.  'XPN's program director Dan Reed deserves much credit, firstly for being an excellent DJ, providing information, context, and witty banter (as well as interviews with artistes and persona guests), and secondly for actually enduring all seven hours of the worst songs ever.

One thing I had to do was to move the speakers out to the cockpit to continue work on the hull.  On our Raider 33 Antigone we had cockpit speakers which my brother Steve made for his old Fiat, which had come with none.  They were nifty little white-overlay-plywood boxes with aluminum grilles and Sparkomatic 6x9s in them.  I came up with the idea (which I don't remember if we actually did) of mounting a Herreshoff-style cleat on the top of each one, to serve as a handle and a place to wrap the cord.  We just took these out and stood them on the cockpit seats whenever we wanted them.

For Diana I'm doing the same thing, likely with these nice little speakers which come from a 1980s Sony component portable stereo (which is currently in the boat).  I have already run the speaker cables back to the lazarrette but have yet to decide if I want to install connection points in the side of the little Dorade box or just to leave them below.  I hate how I screwed this little box to its mounting cleats; I should have used the cleat-on-cleat method that CY's Ziggy uses all the time as it hides the fasteners (provided there is interior access).  I will most probably plug these holes and add the cleats inside to do it that way... after the cover goes on and I remove the box for varnishing inside.

The Sea Dog low-profile vents are meant for the Dorade boxes on the cabintop.  The ones back here should be the taller traditional kind but as yet I have only ordered the low ones from Defender.

The one shown installed (and not totally pushed-in) is the one that vents through the Dorade box  and through a hose to the foot of the quarter berth.  It works great.  The other one leads directly through a hose to the bilge, where I have yet to fit a bilge blower for the gasoline vapors.  It is plugged here because, as Diana is not now swinging to weather on a mooring, I can't keep the cowl trimmed as an exhaust vent.

The patched hole in the cockpit was where I installed the Whale manual bilge pump, one of the first things I did when I got this boat as the cabin windows leaked like a sieve.  I decided to relocate it to the inside of the coaming, both because it's easier to operate while steering and because it'll free up access through this cockpit-seat locker.

WXPN is at xpn.org

The 'XPN radio event was really a lot of fun and I helped clog up Twitter with many comments.  As a result of the event's effect on listeners, '@885countdown' was the number-4 most-Tweeted event in the US on 24 October, easily number-1 in the Philadelphia region, and the station's own website crashed due to too much traffic.  Truly an event for the ages!

BTW: the number-one favorite song, as it had been at the last countdown in 2004, was Springsteen's 'Thunder Road'.  The worst one, on this, the first-ever worst-songs countdown, was Starship's 'We Built This City' (I am not making this up!).  And here I had thought 'Billy, Don't Be A Hero' was a shoo-in.

- JC2


* * *

Interlux Brightside

I chose the Primekote 404/414 as primer because, at the time, I had not decided between Brightside and Perfection.  I have long referred to Perfection as 'the poor man's Awlgrip' and to Brightside as 'the poor man's Perfection'.  All three share similar qualities: they are rugged, hold up well to UV and to seawater, go on very well with a minimum of application effort (just roll on and take care) and are somewhat compatible in that primer for any one of them can be used with the lower grades of paint.  If you can't afford Awlgrip or a guy like Jeremiah at CY to apply it for you, your next bet is to apply the two-part epoxy Primekote and then pick either Perfection or Brightside.

Jerry, from the C44 Second Alarm, has been my boatyard neighbor for two seasons now.  He very generously offered to assist me with the application and did most of the rolling of both the Primekote and the Brightside himself.  I defer to his expertise in applying surface finishes as he's completely redone the hull of his 1981 boat from bare fiberglass to finish gelcoat, almost entirely on his own.  We readily share concerns, advice and encouragement and so he was a natural and welcome partner in this vital chore for Diana.


Taking the time to do it now


I took the better part of two days off from work for this.  To some this sounds irresponsible; but, to me, a boat is like a pet.  If it needs you now, it needs you now; and you are irresponsible to put it off till a situation becomes unhealthy.  I don't consider boats mere things, like that.  They have spirits and souls and feelings and needs.  Sail one and you know what I'm talking about.  I saw it during the Sandy storm-- with 68,000 boats in New Jersey having insurance claims filed, you just know that some of them were owned by people who said, 'It's only a boat.  It's insured.'  I could use the money anyway.'

Forgive the harsh opinion; but these people clog up the insurance-claim process and annoy and delay those of us who truly care.  I saw BOATUS and many others come through like knights in shining armor for boat owners who truly cared-- and I worked very hard on restoring several of those boats myself, if only because of two things:

1. I know what you feel like when your boat needs work, since I love my boat as much as you love yours.
2. I want to see your boat happy and sailing again as much as I want to see mine happy and sailing again.  This is what I do, and this is why I do it.

So I was grateful to Jerry for his help but I knew he knows how I feel about it because I know he feels the same way about his boat.


Brightside lessons


Since this is me, I have to delve into the bad news first!

I uploaded these two pics in a large format to illustrate how the first coat of Brightside goes on.  Formerly both of these places on Diana were repaired, using a combination of Evercoat 27 and WEST epoxy with filler.  The first one, below, had some significant pitting in the gelcoat and, being on the shaded, close-quartered side of the boat when it was in The Swamp, I did not get the chance to finish fairing these.  In truth I didn't really see them that well there.  So Jerry and I decided, what the heck? --and we painted over them to see what we'd get.  I don't think you can notice in this picture but the Brightside does not cover imperfections very well, if at all.

So, Lesson #1 with using Brightside:
It is not latex house paint.  It is not 'high hiding'.  It changes the color and seals the surface; it does not fill divots at all.


The second pic, below, illustrates what I call 'the thin white panties problem'.  (You get no further explanation of the name.)  This was where I filled the factory-installed galley-sink drain hole (relocating it, with seacock, to the bilge).  I was anxious to see how well Brightside would cover over darker-colored stuff like the WEST epoxy with gray and tan filler in it.  The result was that one coat did pretty well.  This would disappear completely on the second coat.

So, Lesson #2 with using Brightside:
It does change color; but when it's white over dark, it'll take two coats.  This is in line with pretty much any other paint; but here I believe it is a factor of the thin application layer of Brightside.  You don't put it on thick; you do multiple coats.  (In other words, it's not Bilgekote!)


At the end of the day, the guys from the shop were coming out and saying things like 'Hey!  John has a shiny boat now!'  I doubt they realized what this meant to me-- it may be the first time I have received any kudos from others on my work with this boat at all.  Naturally I replied that it was all down to Jerry-- for his constant encouragement, invaluable assistance and almost-paternal admonishing me to keep moving.  This is a guy who supervises urban firemen-- he knows how to motivate people and in my case has done it well.


We got the second coat done the following day, after I spent the whole morning (18-20 hours' drying time) sanding this coat with 320.  We had one egregious error (mine, I am sure) where we had to retouch a place where I missed tipping (probably due to intense sun glare that side).  The attempt to get it on and all smooth was not successful.  It ended up being covered but as a lump that looks like a bulkhead pressing through.

So, Lesson #3 with Brightside:
You have about five minutes, and no more, to finish rolling and tipping applied paint.  Don't hesitate-- get it right now, and keep moving on.  You won't be able to go back and fix it; it'll mean another whole coat if you let it go.

This is all well anyway, as I'd like to redo a few places on the transom and resolve the matter of a few divots.  I'll do the third coat in the spring (as well as another barrier coat on the bottom).  For now, Diana's going under a shrink-wrapped cover so I can focus on the engine, the electrical system, and a few odds and ends that can be fit to the boat and finished in the shop.

Thanks again to Jerry for all his work; for this is really all down to him here.

* * *

Moving day

24 October 2014


I have not been happy with the boat's being where it's been.  This is sort of the 'swamp' of the yard.  Well-- it is not really a swamp-- Diana has been sitting on good solid packed gravel-- but the ground immediately beside her is low and tends to fill up in any rain.  This, in addition to the constant mosquitoes, makes doing boat work after 4.00 pm and on weekends less than fun.  So I contracted the guys to relocate Diana to a drier, happier place, especially with regards to facing another (her last?) winter on land.

Here in the Northeast, when placing a boat for the winter season, it is best to situate her nose-into the weather.  This is better for the boat, for any covers, for the stowage of gear on deck and on the ground, for persons entering the boat in the off-season, and for a host of a million other reasons.  Diana, especially, with her low-profile deck and cabin, heads to weather very well-- but all my covers and the cockpit have taken a beating over these (too many) years sitting stern-to the weather, which here in Delran comes to us on a direct line from Philadelphia (bearing from W/SW) in summer and from W and NW in winter.  The compass in the bulkhead shows her facing E/SE.  Enough said.


This is Diana's old spot, in 'The Swamp'.  Here Jerry's C44 Second Alarm has been moved to his new spot and I was standing, for the first time in two years, where his boat had been.  Together these boats and the others in this photo weathered Superstorm Sandy and all the rest.


Now I know how these guys work.  The guys from Riverside Marina come over, back the hydraulic boat carrier to the front of your boat, and then-- wait for it-- remove all the stands.  I mean all of them but the very back and the very bow.  I've seen them do this even on windy days, with the rig up.  Yikes.

Watching them do this with a C44 or Ben's Rhodes Reliant (with that narrow transom!) is unnerving.  Watching them do it with my own boat is an automatic case of the heebie-jeebies.  I was so paranoid that I subtly replaced the stands in the very back with a pair a little closer forward, though they were not at any bulkhead, just to persuade them to leave those as the last two.  But they moved them back (to right where they were before), saying they couldn't get the truck under it.  I was near fits.


Then, to really bring on the stomach acid, the forward pads on the truck would not find the boat.  I've seen this thing in action many times but always thought that for smaller boats the pads would angle inwards.  Apparently, they don't.  The picture shows the back ones too far forward and too low, the front ones way too high, and the keel (read that: whole weight of the boat) on a 3-inch-wide strap spanned between the wheels of the truck thing.  Sheesh.

Meanwhile, between snapping photos (which I did not really do so much) I was worrying that the pads in front are pushing against the v-berth shelf, probably popping off the rode-locker bulkheads I 'glassed there, and definitely scraping off the newly-applied primer paint.

Then Jeremiah in the shop says, 'It better not be scraping off the paint.  It's epoxy.  If they're scraping it off, it wasn't applied right.'  And it was applied right.

End result: Diana arrives across the yard safe and sound.  There was a problem with blocking her, as the guys could not get the strap out from under the keel without blocking the keel bottom in the same place as before-- meaning I still can't scrape, prime and barrier-coat the very bottom.  But I can sort that out another day.  The bulkheads forward were fine (of course).  And the epoxy primer survived very well-- the traces of black wiped off with one hand while I was talking on the phone.  No worries.


In this location the barn part of the shop will block most wet snow.  The weather now comes from off Diana's nose or from slightly to port.  I will have this shrink-wrapped by the end of November (after topcoat on the hull).

The few odd places where the barrier coating was sanded through are the repairs I had to make for the cracks; this is reported elsewhere.  Jerry gave me some leftover stuff so I may not need to go into the quart kit of Pettit Protect that I bought for these (and for the rudder).  The gray cover is because of the instrument holes in the back of the cabin and because the forward edge of the hatch hood is still open (needing woodwork, the last major job to be done to the deck).

On the deck there is a bucket upside-down over the mast step.  The step will be removed for the deck to be painted and then reinstalled with 5200.

The holes forward, where the running lights were mounted, are to be covered with Plexiglas panels, as Diana's eyes (more on this 'secret' later). 

The foredeck hatch is slid open in this picture.  I have to put hinges on it, then remove them, then varnish the whole thing, which, with the boat under shrink-wrap, can easily be done in the shop.


Little Diana likes her new spot in the sun!


In the background can be seen the CY spars rack, welded and bolted to the side of the former storage trailer that is now the lumber-storage room for the shop.  On this rack are C44 spars, the ones for Dave's Reliant, and a few others.  Jeremiah puts each up there with the forklift (another operation that has to be seen to be believed).

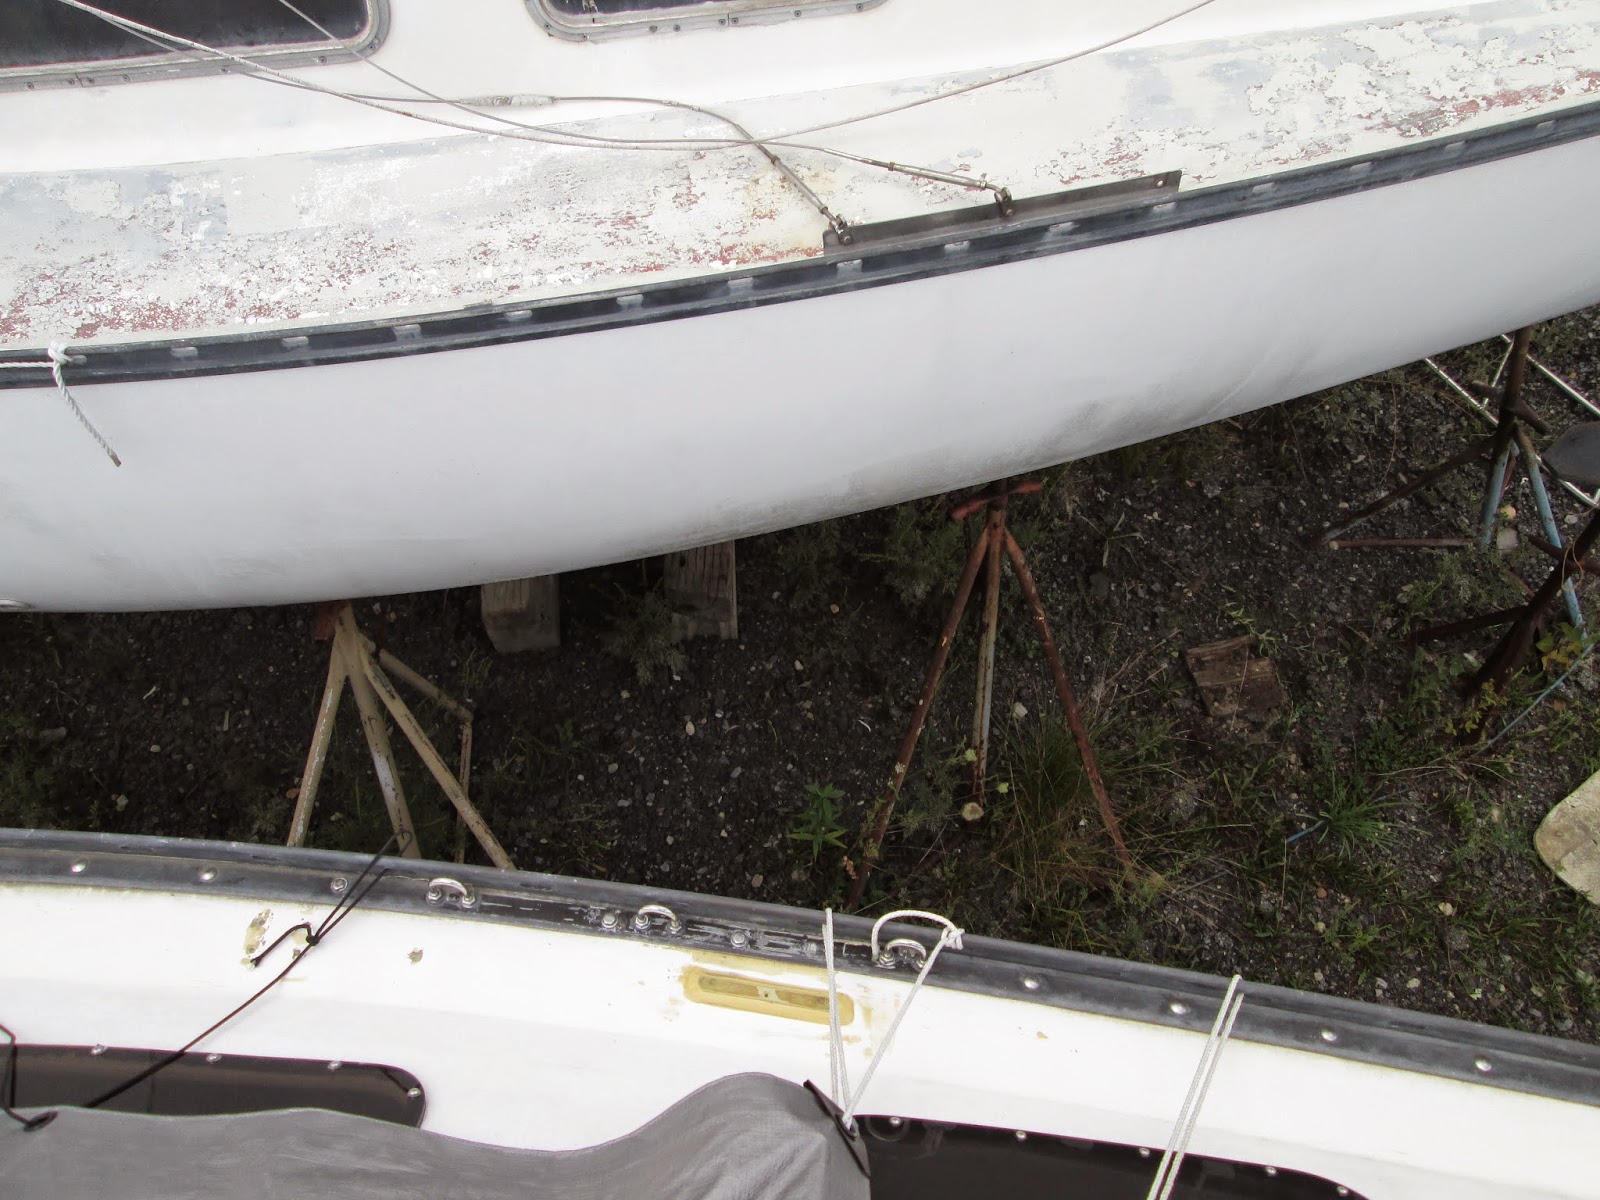
I prefer six stands, not four (not counting the bow) because it's simple to pull one down to paint the bare spot.  The plywood steps came over from Diana's old place because I used them to fill and fair the old bow damage and will use them now to reinstall the section of toerail, the stem fitting and the anchor roller.  In this photo I have not yet moved the spars and the workbench to the new spot.

The half-gallon of iced tea is Turkey Hill from 7-11-- the very best cold green tea you can get!  :)

* * *

24 October 2014

Replacement cockpit drains - Take Two

18-19 July 2014


I don't think I mentioned this before, so....

The small brass fittings I installed about two seasons ago (here) were really too small.  After making a big deal out of putting them in, I decided to replace them with the very idea I have been advising other H25 owners to do for many years.

The original H25 drains were RC Marelon through-hulls straight out the back wall of the cockpit-- necessitating that water either climb up the 5/8" threshold to flow out or else stay in the cockpit pan.  I installed the little brass drains in the sole itself, fitted them with 90-degree elbows and though them good enough.  After consulting with my friend Roland (SV Moonshine) about his solo Atlantic crossing, I decided too big can never be big enough.

The fix I have been long suggesting for this entails the fitting of a rigid fiberglass tube straight out the very bottom corner of the cockpit pan through the transom.  In what has to be the most productive two two-hour work sessions I have ever had on this boat (even in the face of predicted rain), I drilled the holes, bedded these into place, removed the old ones and filled and faired the old holes.  I did one one day and one the next, after a full day of work each time.  It impressed even myself!


Here's the view from the cockpit.  The tubes are 1" inside, 1-1/4" outside diameter, pressed fiberglass, ordered from McMaster-Carr.  It was about $21 for one 60-inch piece, which, cut in half, fit perfectly for this application.  I deliberately made the cut on an angle, twisting each tube in its hole in order to fill the corner (shorter side inboard).  Bedded in 5200 and faired with WEST epoxy and Microlight, they look like they were molded there.


At the transom I allowed the excess length to just stick out and, when the epoxy had dried, cut them shorter with a hacksaw and used the orbital sander to smooth them over.  This picture doesn't show it so well, but the factory's installation wasn't symmetrical-- one old hole (filled as of this picture) will appear closer to the new tube than the other side.  I just eyeballed the site from above, applied a ruler and made them lead  out parallel to the centerline, straight aft from the corners of the cockpit pan.

The green tape covers the HIN.  I got some epoxy into it a while ago and decided to preclude any more messing it up.

The other two through-hulls are the Marelon ones I installed for the bilge pumps.


Looking under the cockpit the downward angle and parallel leads are seen clearly.  The duct tape is part of one of my 'mooyock' solutions for filling holes.  When the old through-hulls were taken out (with hammer and chisel), I taped over the holes in the inside and made up 'communion wafers' of fiberglass to stuff into the voids from the outside with epoxy.  Why try to fill a hole that's overhead or angled so that the epoxy will only dribble out?

This isn't a great view of it, but below the tubes is a little floor I installed aft of the low bulkhead in the foreground.  This low bulkhead, a little higher than the waterline, will contain water from any rudder-post leaks in the event of a rudder strike (which should be high on the list of any sailor's worst nightmares).  A small hole, here seen stained in epoxy, is fitted with a brass tube which will accommodate one of those little rubber transom-drain plugs.  It's not the most secure arrangement; but it's much better than having nothing at all in the event of this happening, for which Stephen Dashew says your best scenario is to crack the rudder blade.  Any other possibility involves catastrophic damage to the hull-- and, with your average production spade-rudder boat, probably the end of your voyage.


This pic, with the fuel tank in place, shows the upper end of the cockpit-drain tube.  With the little brass things in place, there had to be an elbow over the back edge of the tank that seriously complicated attaching fuel hoses and intruded on space for removing the tank.  Now this is practically structural-- no worries for stuff in the lazzarette weighting down the drain hoses till they fail or pop off.

(The dark spot on the tank is an old epoxy spill, not a leak or any damage.  This tank has been kicking about this boat for very long, getting dusty and spilled-upon, and only now (September) is is finally in its place for good.  Of course I've kept all the openings well taped-up!)

* * *


Hunkered down

15 October 2014


Bill Robinson, editor of Yachting for many years, wrote a terrific book in about 1980 about cruising, using his own experiences including those of sailing the NJ Shore.  One sage observation he made was that the NJ Shore suffers one 'major weather event' every autumn, like between mid-September and early November.  Superstorm Sandy was our dose for 2012.  This week we were promised another, high winds and torrential rain.  Naturally I did not expect it to rise to any proportion of what Sandy was like; but being prudent I took some precautions, moved, stowed or weighted down everything loose about the yard, snugged up the covers and tightened the stands.


In this pic taken from the scaffolding around Jerry's C44 Second Alarm, Diana (with all her attendant gear)  is hunkered down for another dose of ugly, land-based weather.  But she survived Sandy just fine (despite some intense worrying on my part) and this mess, really just an extended squall, proved inconsequential.

The tarp on top is really just because the deck, cabin and cockpit are not yet painted and the holes for the sailing instruments in the back of the cabin are still covered only with plastic sheeting (and plastic bags) taped over them.

One cool thing about flush-decked and semi-flush-decked boats is that they present very little windage, even when hauled out, to aggressive weather.  Diana's 'blister-canopy' configuration is even better in such conditions than is the modest trunk cabin of her sistership (which is within 2 weeks of Diana's age).

The cabin windows and new foredeck hatch do not leak.

The new cockpit drains work really well-- if the boat were not slightly tilted to port, there'd be no water at all in the cockpit after a blow like this.

I leave the old running-light holes in the bow uncovered, for light and air; the amount of rainwater they let in, which runs straight down to the bilge, is insignificant.

* * *

U-bolt installation

September 2014


This was done two seasons ago and I don't think I ever posted pics.

At Cherubini we used to have heavy stainless-steel chainplates fabricated for the C44s. About five years ago a customer wanted these replaced and we sent out for a quote, getting a figure of about $125 for each one. There are ten rigging-attachment points on each side of a Cherubini 44.

In about 1980 Lee and I did some research, really just as an intellectual exercise, and discovered that common type-316 stainless-steel U-bolts, such as are used for transom tie-down points on trailerable boats, are both phenomenally strong and amazingly cheap. Therefore we concluded by revising the engineering specification for new C44 construction that we'd use Attwood 1/2" U-bolts for the main shrouds and 3/8" ones for the mizzens. These are rated at 16,000 and 12,000 lbs breaking load, respectively. So any four of them would serve as harness-attachment points to lift the whole boat. These were bolted through that massive solid-fiberglass flange, for which the C44 is famous (see Ferenc Mate's books) and reinforced with a 2" x 2" stainless-steel angle about six feet long. This has never, not once, ever failed in any C44 or C48, despite boats' having been subjected to incalcuable stresses due to storms and other conditions.

Meanwhile Hunter continued building boats with problematic through-deck chainplates bolted to plywood bulkheads that were treated with, if anything, polyester resin. Now how many of these boats' structures have failed?

I was resolved, from the start, to replace Diana's pokey little above-deck shroud-attachment angles with U-bolts.

Below is a pic from the cabintop comparing Diana's U-bolts (below) and the original factory 'chainplates' (above, on her sistership). The plate on Diana's deck is a G-10 bolster (riser) epoxied to the fiberglass to serve as a base plate for the stanchion base. The vintage Schaefer stanchion base will span the gap, having two bolts through the plate and two through the toerail (one of which replaces one of the existing toerail bolts). In this way water can travel past (under) it, rather than pooling on top of it and working its way (such as with the help of ice) into the boltholes. I am not too keen on having a stanchion located between chainplate-attachment points; but it's only for lifelines and we'll see how it turns out.


There is tape residue about Diana's toerail in this picture. Wherever there was aluminum corrosion, from under the SS plate, against the rail, I scraped away the softened material and coated it in black 5200. There's nothing else for it but to remove the entire toerail; and I'm not ready to go there (kind of like insisting on an unnecessary operation for a child who can very easily live comfortably with the malady's symptoms for many years yet). Note that these U-bolts are very close to the vertical face of the toerail. Attaching the shrouds will be problematic unless done by screwing the bottles onto the toggles already pinned to the U-bolts. But, again, we'll see. 

The first photo shows, from below, the starboard-side aluminum angle with the U-bolt bolted through it. All of these stainless-to-aluminum connections employ nylon flat washers and plenty of 5200. Note that the angle is turned with the vertical face inboard, not outboard against the hull. The locknuts are accessible from below and inside the aluminum angle. This piece of metal is about 1" wide and about 1-1/4" high. Keep in mind that its job is to enforce stiffness of the chainplate structure (against fatiguing flexing) as well as to serve as a backing plate (against tensile loads). Therefore the longer leg of the aluminum is vertical, not flat against the flange.


The big orange wire is my 115VAC system. When we had our Raider 33 (hull 5, about 1977) built, my dad paid a guy about $1200 to do the wiring (since he hated wiring) and the result was stiff, balky, marine-grade 12/3 triplex wire that was heavy and impossible to get to yield if it got in your way. My dad (typically curbing the compulsion to curse, to which anyone else would have given in) said, 'I'd been happier with an extension cord thrown through the window.' Recalling this, when it came time to wire Diana for 115VAC, I got a decent 14/3 extension cord from Lowe's and cut it into pieces for Diana's three sockets and battery charger. I mean, really-- it's only 15-amp service anyway. (In the yard, currently, I run everything-- except the heat gun and fan together-- on a similar wire. The power inlet is for 30 amps but the cord has a plug for 15-amp sockets on the dock.) 

The silver wire is the sending circuit for the depth finder. Note the 1974-vintage woven roving (trade name 'Fabmat') of the hull, even this high up. I'm embarrassed by this next pic because apparently I missed a spot when spraying in the adhesive for the hull liner.

This is Diana's port-side U-bolts angle, inside the linen cupboard in the head. Here is where I ran all the wiring-- the reds and yellows in this picture are all heading forward from the head for bow-rail bi-color light, (LED) floodlights in the forepeak, and one cabin light (an original one I rejuvenated) to be mounted on the bulkhead.

The white wire is for LED footlights along the bottoms of cabinetry and bunkfronts. That's three reds and a white. The black and heavier white one (VHF coax) are leading from the mast step towards the panel, aft.


The fourth red is for a secret: with the hull-mounted bow lights removed, Diana will be getting blue-LED 'eyes' in these openings, lending her personality-- but I'm not advertising that and it'll be something to be shown off at the commissioning party!


The Sweet Sister


The sistership, one of the trunk-cabin model I call 'series 2', beside Diana is destined to become as much a celebrity as Diana is (rather like Haylie Duff or Beth Ringwald). I have been calling her 'The Sweet Sister' as, though she is within two weeks of Diana's age, she has been terribly neglected and yet remains in better condition than Diana was when I acquired her and brought here. (For example, the deck and cabintop are all solid. She has not had the distress of having had POs screwing down hardware without proper preparation.)


The current owner has only recently acquiesced to my interest in gaining her title; and over the winter and spring I will be performing a basic restoration of her, topsides, interior, and rig, incorporating several Diana features but otherwise letting her remain stock, as a kind of comparison to my (highly-modified) boat. Of course the sister will be getting U-bolts, my mast step, a 115VAC system, stanchion-base bolsters and the same color scheme as Diana's.

Look for her at the planned Hunter Sail-In in Burlington NJ in early July-- she'll be up for sale (but only to a good home).


* * *

Finally! --it's paint.

9-10 October 2014


I have been procrastinating the hull paint on this boat for an inordinate time.  This is really 'just because' --I truly haven't felt like investing the time and effort into it till now.  But I've had the gallon kit of Interlux Primekote for a while, just for when I decided to do it, and so I finally bowed to the constant encouragement of my friend and boatyard neighbor Jerry (C44 Second Alarm) and together we attacked this.
(The spots on the bottom are my repair of some hull cracks that had spread through the Pettit Protect barrier coating that I applied last year.  Discovering these was distressing; but I've been determined to have this boat done properly and so the Dremel took was applied right through it and WEST epoxy, with milled fibers as filler, was troweled into the gouges.  As of now it's really pretty good.)


Jerry did the rolling and I was going to try tipping it, for which I bought a couple of really good brushes, but we found that Primekote doesn't want to be tipped.  We also found that it should be thinned more than the 20% the label advises-- I approximated about 25% (or a little more) into each batch.  We mixed 5 batches of about 20 ounces each and this did a little more than two full coats of the hull.  Jerry was a champion with the rolling and really made the paint spread well with virtually no heavy spots.


Earlier pics will show the extensive repair on the transom.  Upon removing the center-mounted backstay tang, I discovered its load had sort of impressed upon the transom, creating a hollow.  I filled this with new 'glass and plenty of WEST epoxy with Microlight.  With Jerry's help I sanded the entire hull with 80 grit, and then 120 grit, using DryGuide, this marvelous black powder that, applied to the hull before sanding, illustrates clearly where your highs and lows are.  Sand it all off and it's fair-- and, amazingly, that stuff does not lie.  This hull is incredibly fair-- and, in some places, fairer than it was fresh from the factory!


I haven't seen this transom all one color since I brought the boat up to Delran!


This poor boat had numerous close encounters with pilings and the like, to the point where some PO cut off a section of bow rail to effect a repair.  I took this off again to repair his repair and left it off for the painting.  By some odd coincidence this is the very section of rail that needs to be cut down to accommodate the anchor roller (as it's tradition for sailboats to have the primary anchor rode to starboard).  The whole nose has been redone with 'glass, Microlight, milled fibres, and endless sanding.  Now in the bright white Primekote it looks almost done.

The holes formerly occupied by the hull-mounted running lights will be fitted with teardrop-shaped black Plexiglas windows, giving light to the forepeak locker and finishing off the bow in a familiar way.  I'm putting little blue LED lights in here (called 'docking lights' on the breaker panel) to represent Diana's personality.

* * *