September 2014
This was done two seasons ago and I don't think I ever posted pics.
At Cherubini we used to have heavy stainless-steel chainplates fabricated for the C44s. About five years ago a customer wanted these replaced and we sent out for a quote, getting a figure of about $125 for each one. There are ten rigging-attachment points on each side of a Cherubini 44.
In about 1980 Lee and I did some research, really just as an intellectual exercise, and discovered that common type-316 stainless-steel U-bolts, such as are used for transom tie-down points on trailerable boats, are both phenomenally strong and amazingly cheap. Therefore we concluded by revising the engineering specification for new C44 construction that we'd use Attwood 1/2" U-bolts for the main shrouds and 3/8" ones for the mizzens. These are rated at 16,000 and 12,000 lbs breaking load, respectively. So any four of them would serve as harness-attachment points to lift the whole boat. These were bolted through that massive solid-fiberglass flange, for which the C44 is famous (see Ferenc Mate's books) and reinforced with a 2" x 2" stainless-steel angle about six feet long. This has never, not once, ever failed in any C44 or C48, despite boats' having been subjected to incalcuable stresses due to storms and other conditions.
Meanwhile Hunter continued building boats with problematic through-deck chainplates bolted to plywood bulkheads that were treated with, if anything, polyester resin. Now how many of these boats' structures have failed?
I was resolved, from the start, to replace Diana's pokey little above-deck shroud-attachment angles with U-bolts.
Below is a pic from the cabintop comparing Diana's U-bolts (below) and the original factory 'chainplates' (above, on her sistership). The plate on Diana's deck is a G-10 bolster (riser) epoxied to the fiberglass to serve as a base plate for the stanchion base. The vintage Schaefer stanchion base will span the gap, having two bolts through the plate and two through the toerail (one of which replaces one of the existing toerail bolts). In this way water can travel past (under) it, rather than pooling on top of it and working its way (such as with the help of ice) into the boltholes. I am not too keen on having a stanchion located between chainplate-attachment points; but it's only for lifelines and we'll see how it turns out.
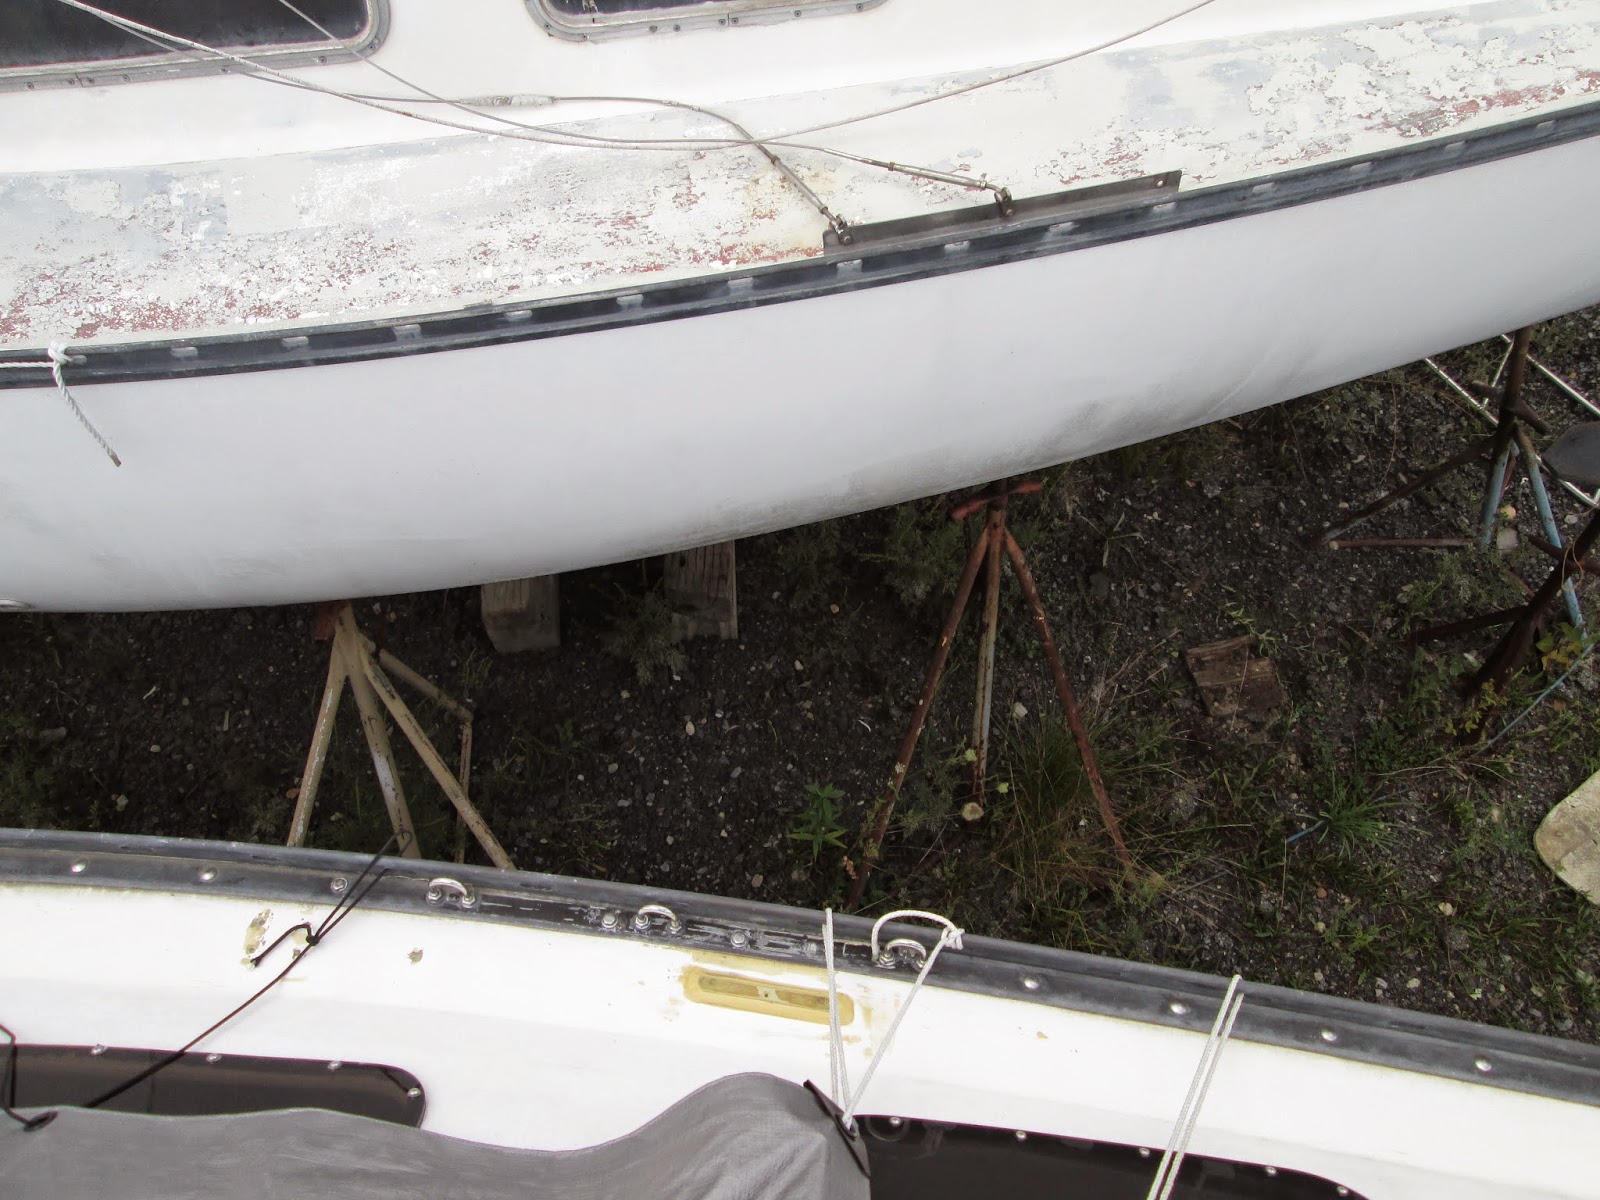
There is tape residue about Diana's toerail in this picture. Wherever there was aluminum corrosion, from under the SS plate, against the rail, I scraped away the softened material and coated it in black 5200. There's nothing else for it but to remove the entire toerail; and I'm not ready to go there (kind of like insisting on an unnecessary operation for a child who can very easily live comfortably with the malady's symptoms for many years yet). Note that these U-bolts are very close to the vertical face of the toerail. Attaching the shrouds will be problematic unless done by screwing the bottles onto the toggles already pinned to the U-bolts. But, again, we'll see.
The first photo shows, from below, the starboard-side aluminum angle with the U-bolt bolted through it. All of these stainless-to-aluminum connections employ nylon flat washers and plenty of 5200. Note that the angle is turned with the vertical face inboard, not outboard against the hull. The locknuts are accessible from below and inside the aluminum angle. This piece of metal is about 1" wide and about 1-1/4" high. Keep in mind that its job is to enforce stiffness of the chainplate structure (against fatiguing flexing) as well as to serve as a backing plate (against tensile loads). Therefore the longer leg of the aluminum is vertical, not flat against the flange.

The silver wire is the sending circuit for the depth finder. Note the 1974-vintage woven roving (trade name 'Fabmat') of the hull, even this high up. I'm embarrassed by this next pic because apparently I missed a spot when spraying in the adhesive for the hull liner.
This is Diana's port-side U-bolts angle, inside the linen cupboard in the head. Here is where I ran all the wiring-- the reds and yellows in this picture are all heading forward from the head for bow-rail bi-color light, (LED) floodlights in the forepeak, and one cabin light (an original one I rejuvenated) to be mounted on the bulkhead.
The white wire is for LED footlights along the bottoms of cabinetry and bunkfronts. That's three reds and a white. The black and heavier white one (VHF coax) are leading from the mast step towards the panel, aft.

The fourth red is for a secret: with the hull-mounted bow lights removed, Diana will be getting blue-LED 'eyes' in these openings, lending her personality-- but I'm not advertising that and it'll be something to be shown off at the commissioning party!
The Sweet Sister
The sistership, one of the trunk-cabin model I call 'series 2', beside Diana is destined to become as much a celebrity as Diana is (rather like Haylie Duff or Beth Ringwald). I have been calling her 'The Sweet Sister' as, though she is within two weeks of Diana's age, she has been terribly neglected and yet remains in better condition than Diana was when I acquired her and brought here. (For example, the deck and cabintop are all solid. She has not had the distress of having had POs screwing down hardware without proper preparation.)
The current owner has only recently acquiesced to my interest in gaining her title; and over the winter and spring I will be performing a basic restoration of her, topsides, interior, and rig, incorporating several Diana features but otherwise letting her remain stock, as a kind of comparison to my (highly-modified) boat. Of course the sister will be getting U-bolts, my mast step, a 115VAC system, stanchion-base bolsters and the same color scheme as Diana's.
Look for her at the planned Hunter Sail-In in Burlington NJ in early July-- she'll be up for sale (but only to a good home).
* * *

